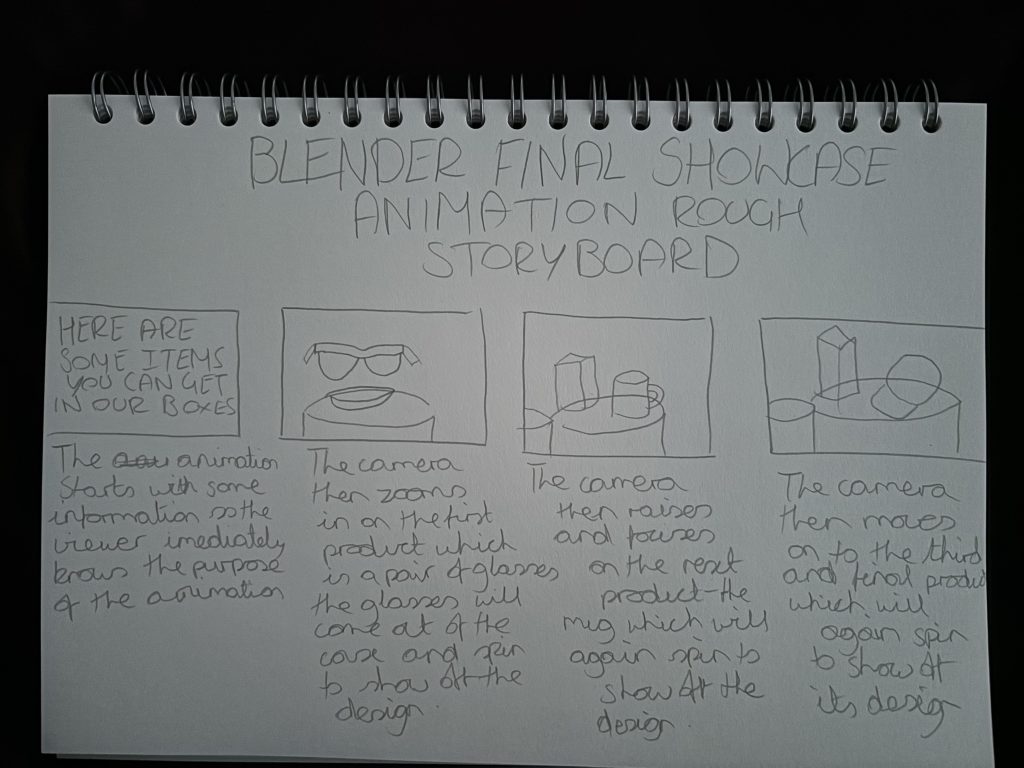
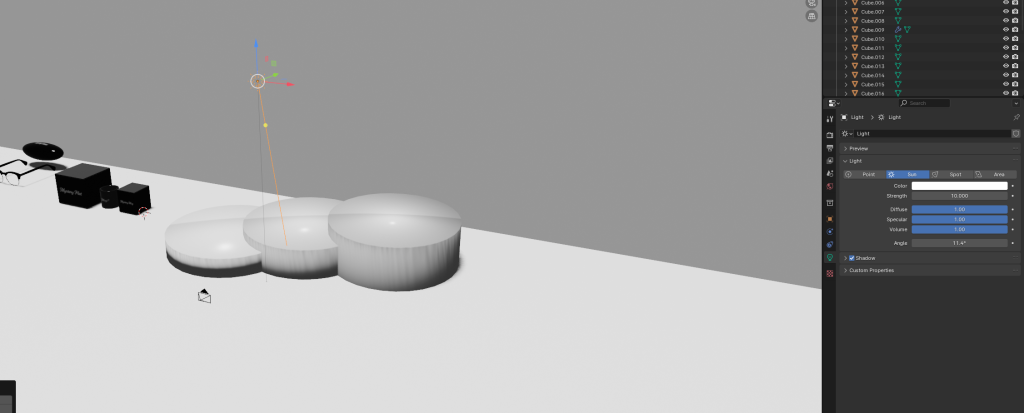
For my final animation I started out by creating a background, my decision was to create a fully white background and pillars for each of my models to sit on, my decision to do this was to create a clean looking showcase and the use of white helped create a contrast to the models so that the viewer can see each model clearly as the models are mostly black in colour. For the lighting I decided to use the sun option as I felt it added more natural light compared to the other options and lighted the scene more in comparison, I then placed the lighting so that it was shining down directly onto the products so that they were fully illuminated keeping them clear and easy to see for the viewer. When it came to creating the animation I decided to showcase each item individually rather than showing them all together, I did this so that I could zoom in on each item more and show off more of the details of each and also the packaging that comes along with them, doing it this way also helped add more length to the animation, if the animation just showed off all the items together it wouldn’t be a very long animation. Throughout the collection of Blender exercises I have learned quite a lot when it comes to using blender, these set of exercises have taught me how to create basic 3D models and how to animate them and showcase them, now that I have the basic knowledge with a bit more experience in the future I could use this knowledge gained to create something for future projects such as more detailed and professional looking models as the more I practice the better I will get which is what I felt the more I used the software.