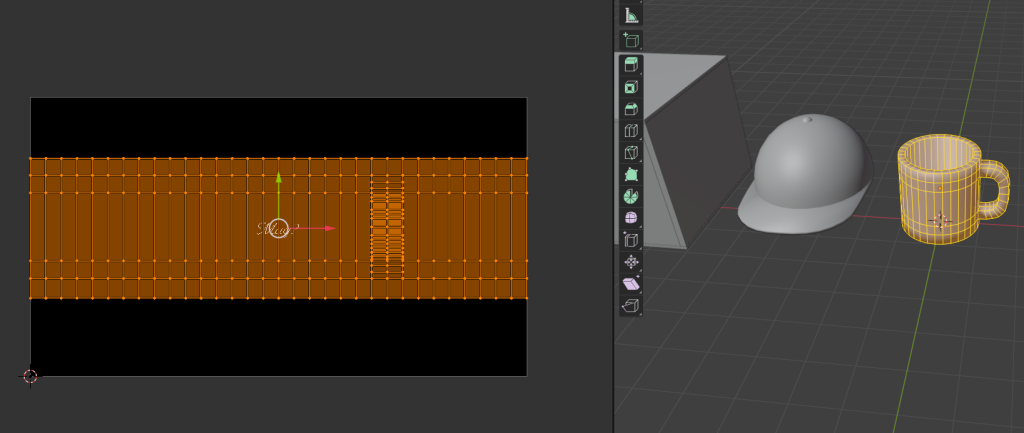
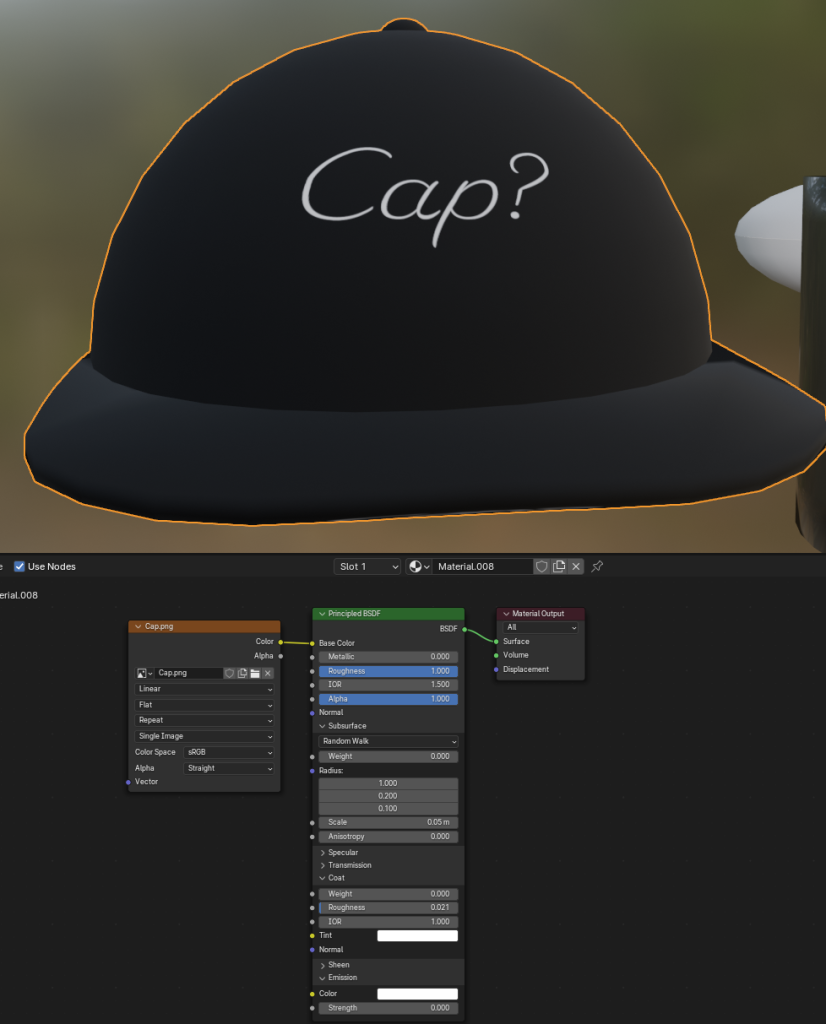
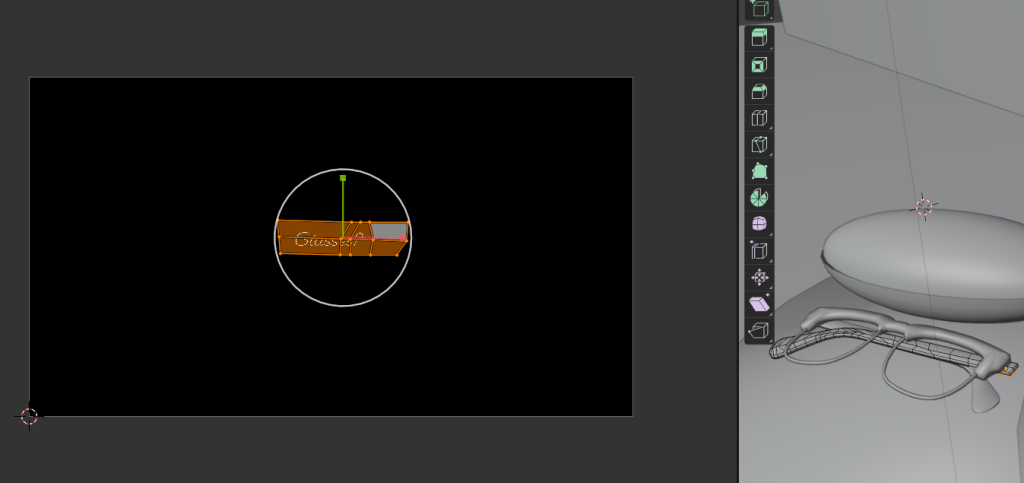
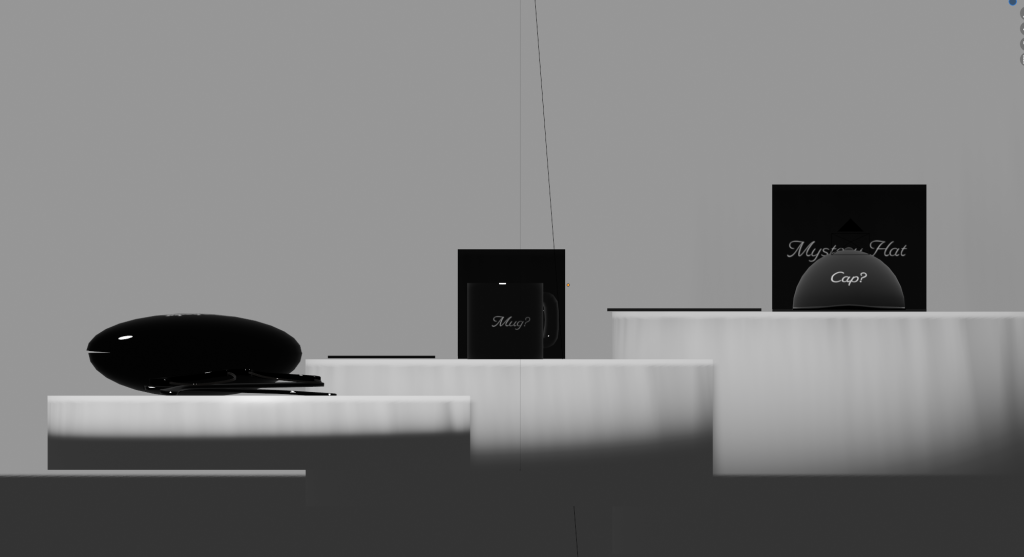
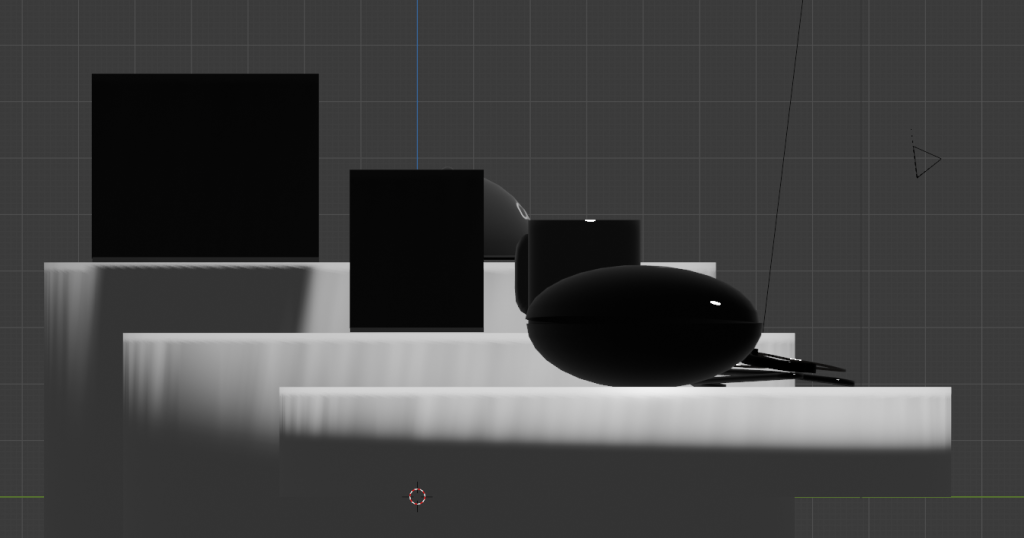
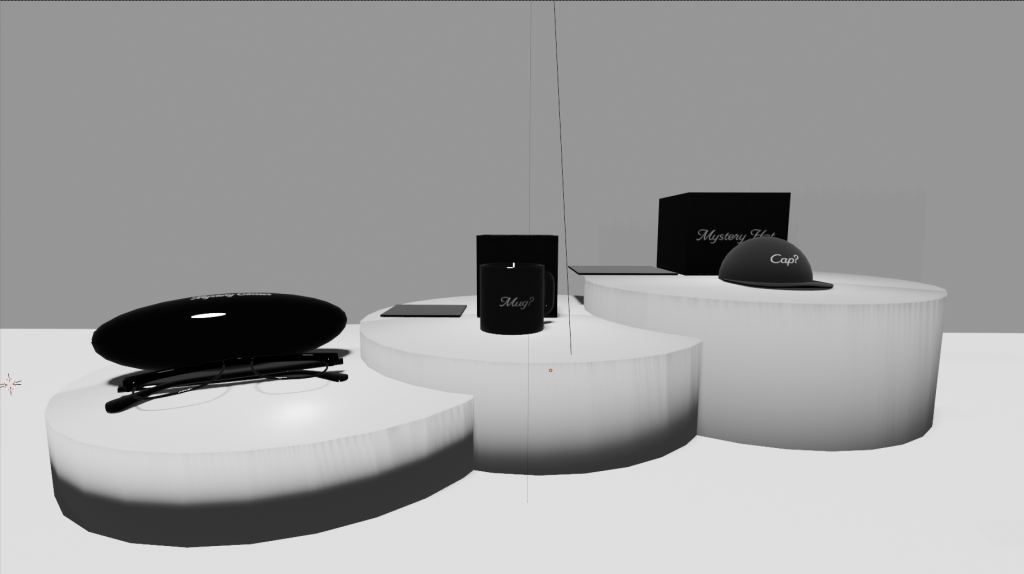
When it came to applying textures and materials to my 3D models I tried best to make them look exactly as they would if seen in real life, and applied my branding to each separate model and placed things such as the name where I felt looked appropriate and where they would typically be placed on a real life item, for example I placed the branding for the glasses along the arms, the mug and cap central on the front. For my designs I wanted to keep them looking quite minimalistic whilst also quite classy looking, which is why I kept it simple and just labelled each item of what they are. I decided to do this as writing the brand name “Mystery Box” on each item would look quite weird and wouldn’t fit well on each item so I had the idea to add the name of what each item is and then add “?” at the end of each to tie it back to the brand. My reasoning behind keeping them more minimal was to match the current trend today with other companies that follow this trend such as the clothing brand REPRESENT where they have basic clothing with just the name of their brand on. When it came to UV unwrapping each object I imported my branding from illustrator and then added an image texture then selected the faces that I wanted the branding to be showed on and moved and scaled them to fit each model properly. I then edited things such as the roughness and how shiny some objects are in the shading tab, for example I made the glasses and the case glossy as they typically are in real life and then the cap I made look a lot more rough so that there was little to no light shining off it.