In this exercise the aim was to create moving image within Adobe XD. The example is from files provided by Adobe and was done in class.
To begin with, I began by importing the video into XD and dragged it to my artboard the video can be placed within any shape you like on your artboard, once I have placed the video on to the artboard I can alter a number of things.
Clicking the icon in the top left of the video allows you to place any thumbnail you’d like on top of the video and you can also trim the video to the length you’d like using the scissor icon.
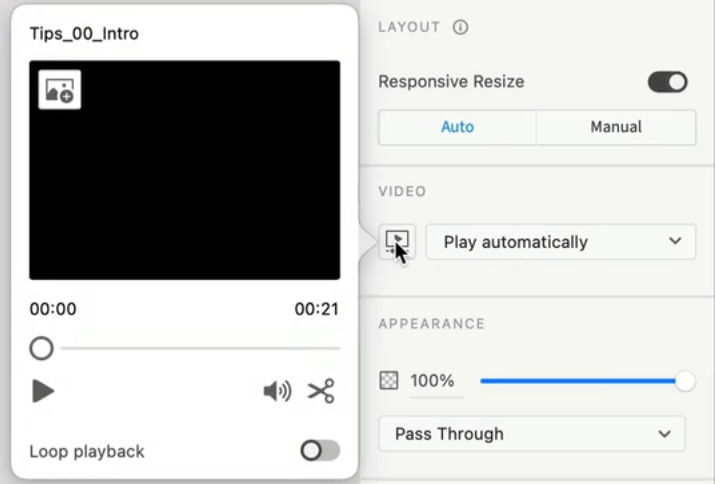
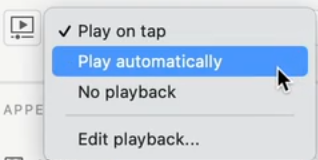
Once I had finished with importing the video, adding the thumbnail and so on I could select whether I wanted the video to play automatically, on tap or set it to no playback. Once I had finished importing all videos and setting there thumbnails I could begin prototyping the different screens together.

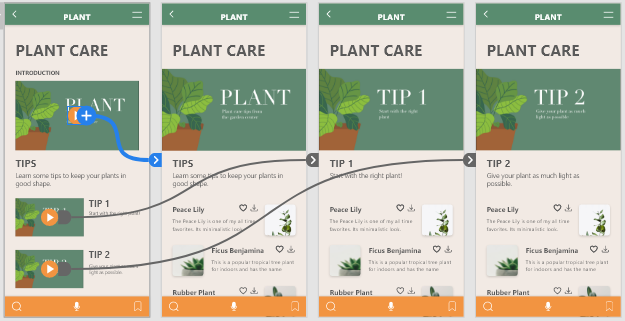
I set the video to a tap trigger and the type as video playback so that the video plays once I have tapped or clicked onto it, I also prototyped it so that clicking the maximise button would take you to the next screen where the video would appear bigger and then clicking the minimise would take you back to that smaller screen.
In the second exercise I began experimenting with multiple videos on the screen and set them all to no play back and then placed a play button on top of each video and then prototyping them so that they take you to the artboard/ screen that would then play the video.
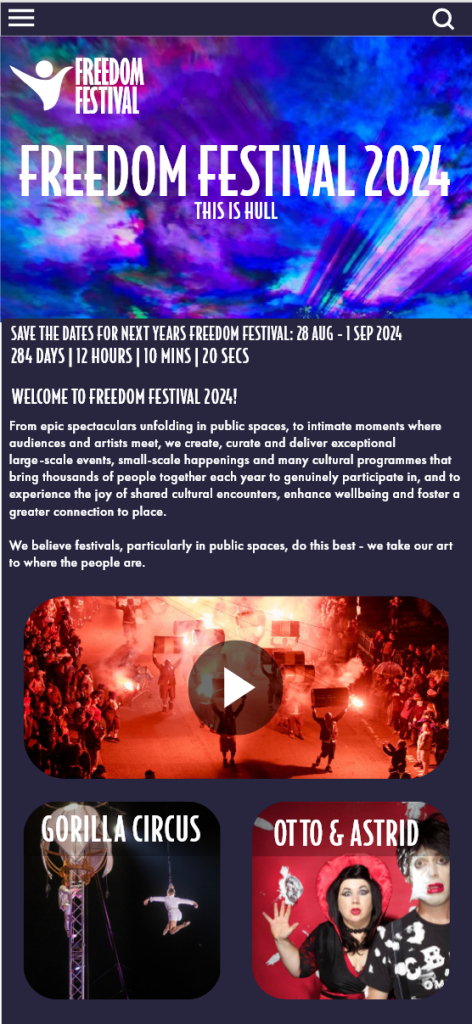
Video is something I plan on adding to my Freedom Festival website and app design and below I have added a screenshot of where they would be, I haven’t yet added actual videos to the site just yet, however after going through this previous exercise I now know how I would do it. I have added these screenshots to show where they would be on the site to give a slight idea.

Due to the files provided with the practical skills exercise not working on my PC which I think is because it is windows and the files provided are for Mac I tried to learn the programme as much as I could by watching the videos provided and below is an example of how I have imported my refreshed logo design for my Freedom Festival work and have animated it. My aim was to create an animation that could be used across a number of things and something that isn’t over the top, for example, this could be used on the web page and app when you first launch them, it could be used for something like a digitalised poster or advert online and could be used in things such as emails.
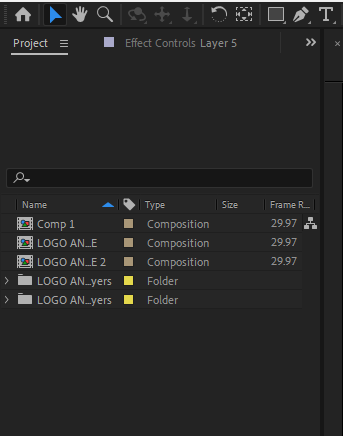
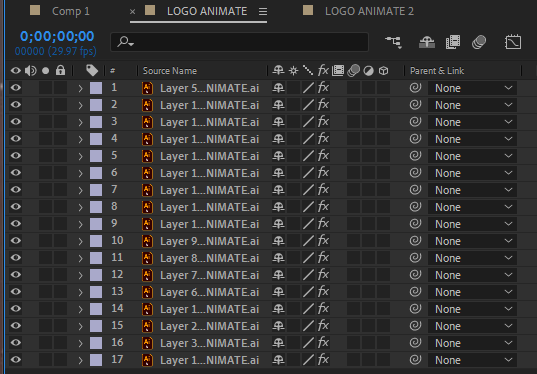
To create this logo I first had to make sure every letter and shape was in their own individual layer and then imported it into Aftereffects by dragging the file into the area in the top left of the screen.
From here I went through each individual layer of the logo and set the type of animation I wanted on each of them.
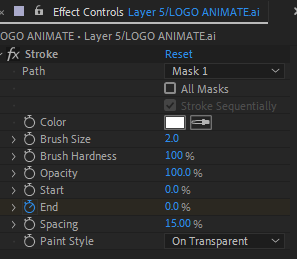
To create the animation I went through each layer and then auto traced each one by clicking on the layer tab at the top left of the screen and then from there went to the effect tab and selected generate then stroke, from there I set it so there is an end timer and set it to 0% at 0 seconds and 100% at 3 seconds and the paint style on each was set to on transparent.
When creating this animation I wasn’t expecting the lines to look as squiggly and rough as they do, however I think it could still work as it makes them look a bit more loose and free which could emphasise the name of ‘Freedom’ Festival, this animation however isn’t 100% complete as my aim was to have the colour fill back in completely at the end of the animation back to it been a full block of colour however as I’m still learning the programme I am still figuring out how to do that.