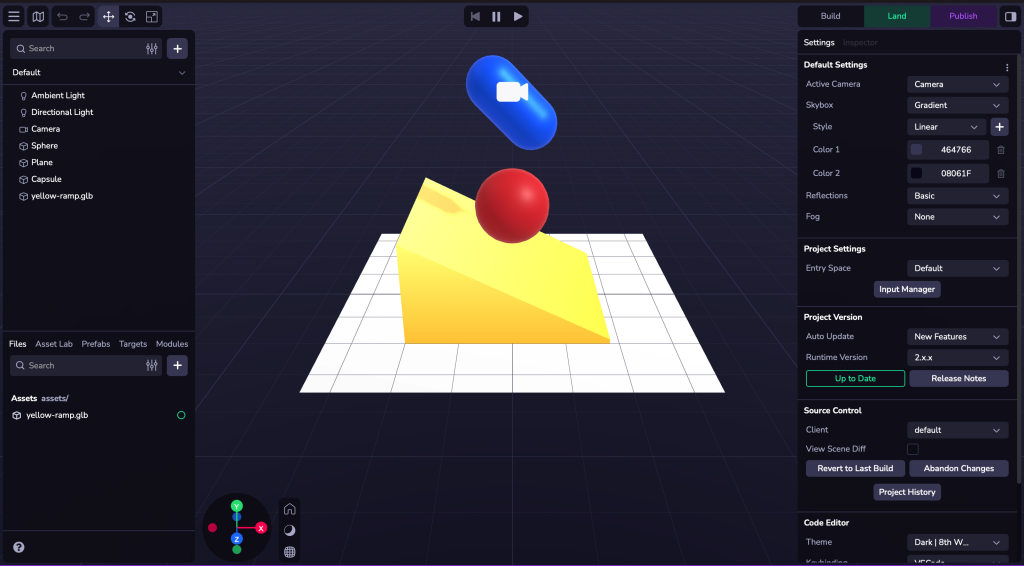
For 8th wall I began by following the workshops provided in our weekly lectures, I began with the basic adding in shapes and importing in custom 3D models and changing their position, scale and rotation. I applied physics colliders to the ball and plane and also changed the balls bounciness value in order for it to bounce off the plane, the planes rigid body is static so that it doesn’t move whilst the ball’s is set to dynamic so that it does. Once I had the ball and plane set up I then added in the capsule also setting its rigid body to dynamic so that it collides and bounces off the ball, finally the 3D ramp model was imported and same dynamic rigid body applied so they all fall onto it and slide off.
Once I had finished my workshop tutorial my initial plan was to create a mini football game where the aim was to get the ball into the goal, with a few obstacles in the way, whether it be by rotating the pitch and getting the ball to roll into it or by tapping/ flicking the ball. However, this was far more challenging to do from scratch and couldn’t figure out how to do it and so cloned a scene that already had a element of control with a ball and adapted the scene and made a mini level out of it with the same outcome in mind. This scene however lets you control the ball using a keyboard (WASD, first click on the ball to control it) I cloned the already provided assets and obstacles that were in the scene and tried to make a more challenging obstacle course to the goal.
Examples of UX and design principles that could be applied:
- Accessibility features, such as adjustable font sizing, text to speech, colour changing modes (colour blind, light/dark mode).
- Visual hierarchy: if anything such as menus are integrated having a visual hierarchy will be important for the user so they can navigate the UI a lot easier.
- Avoid clutter: avoid integrating too much information or menus onto the users screen as this can cause the scene to be too overwhelming and messy.
- Integration: make sure that if objects are mixed with the real world and used within AR that they are correctly scaled to make them match the real world.
- User environment and surroundings: if the user is using the scene using a headset or looking through a mobile device remind them to check their surroundings, also add visual aids to guide the user so they don’t get confused on where to look.
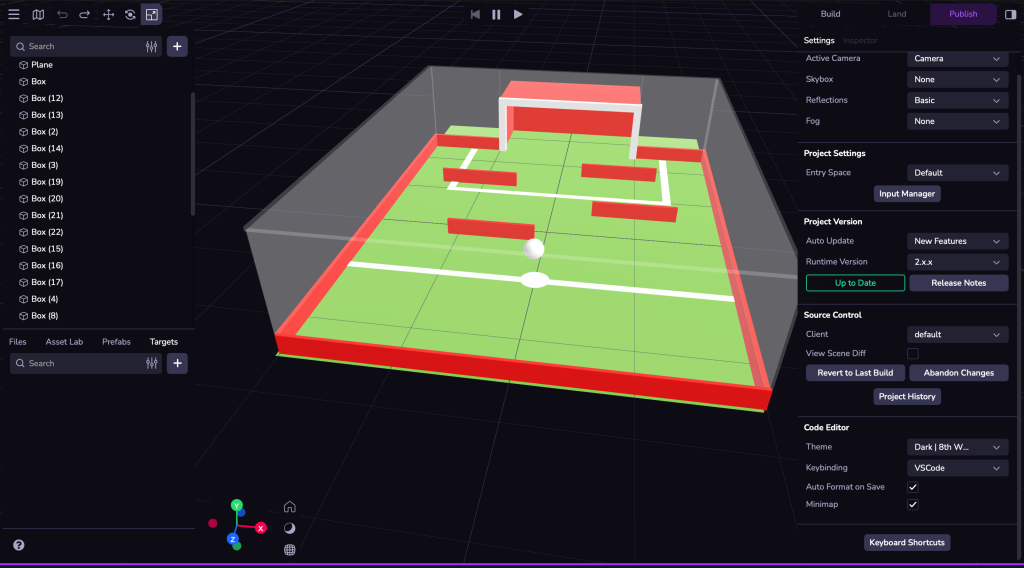
https://kierangoforth.8thwall.app/footballminigame2
Here I sketched out how this could be developed into a further project, by creating a full web based mini football games. I would design a number of levels that get progressively harder the further you go, the very first number of levels would have a number of static obstacles which would then progress to animated obstacles in the medium level levels to then a mixture of the two and in the more harder levels.
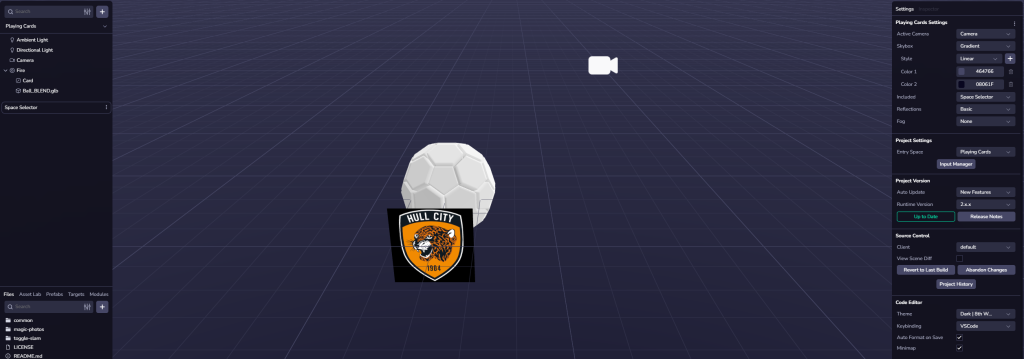
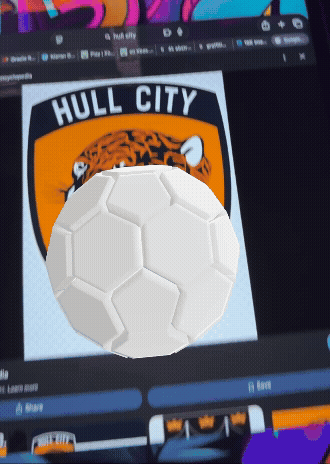
Once I had finished with my custom mini game I experimented further and tried image tracking, for this I followed the instructions to set up the image tracking and then tested it out by creating my own version. For this I captured an image of the Hull City crest and then imported a model of a ball I created in blender (which wasn’t 100% accurate/ the same as the blender variant) and set it up so when the crest was scanned the 3D model would appear.
https://kierangoforth.8thwall.app/image2
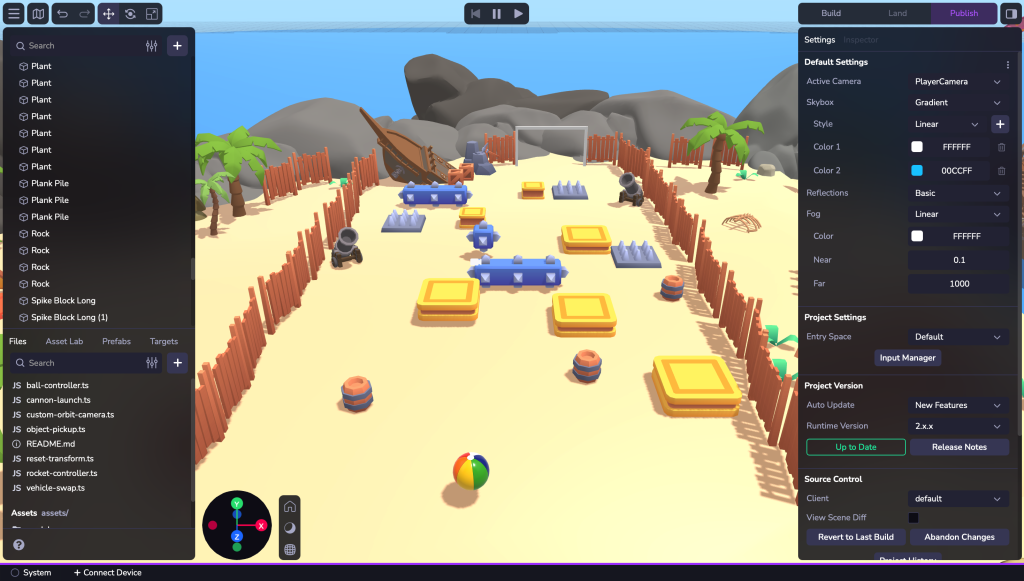
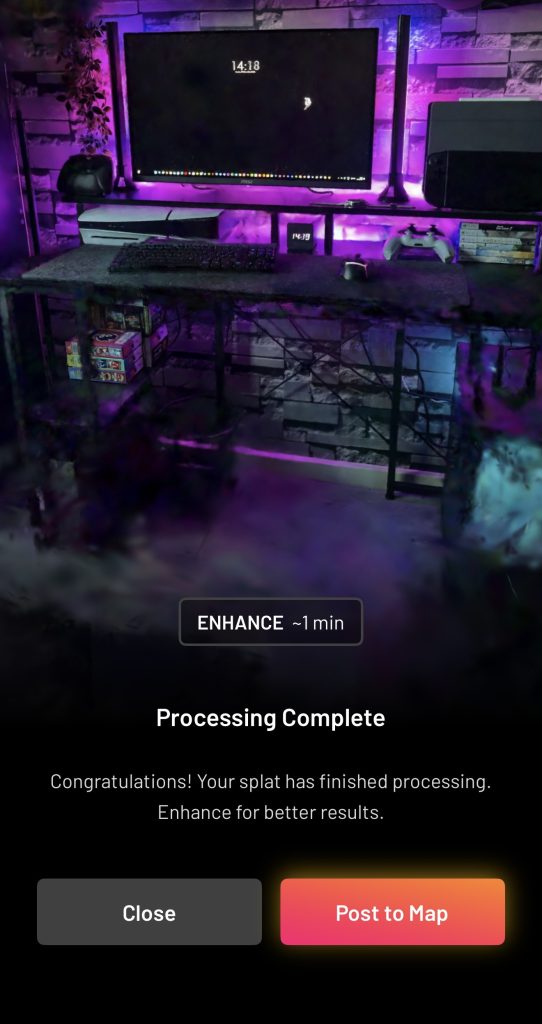
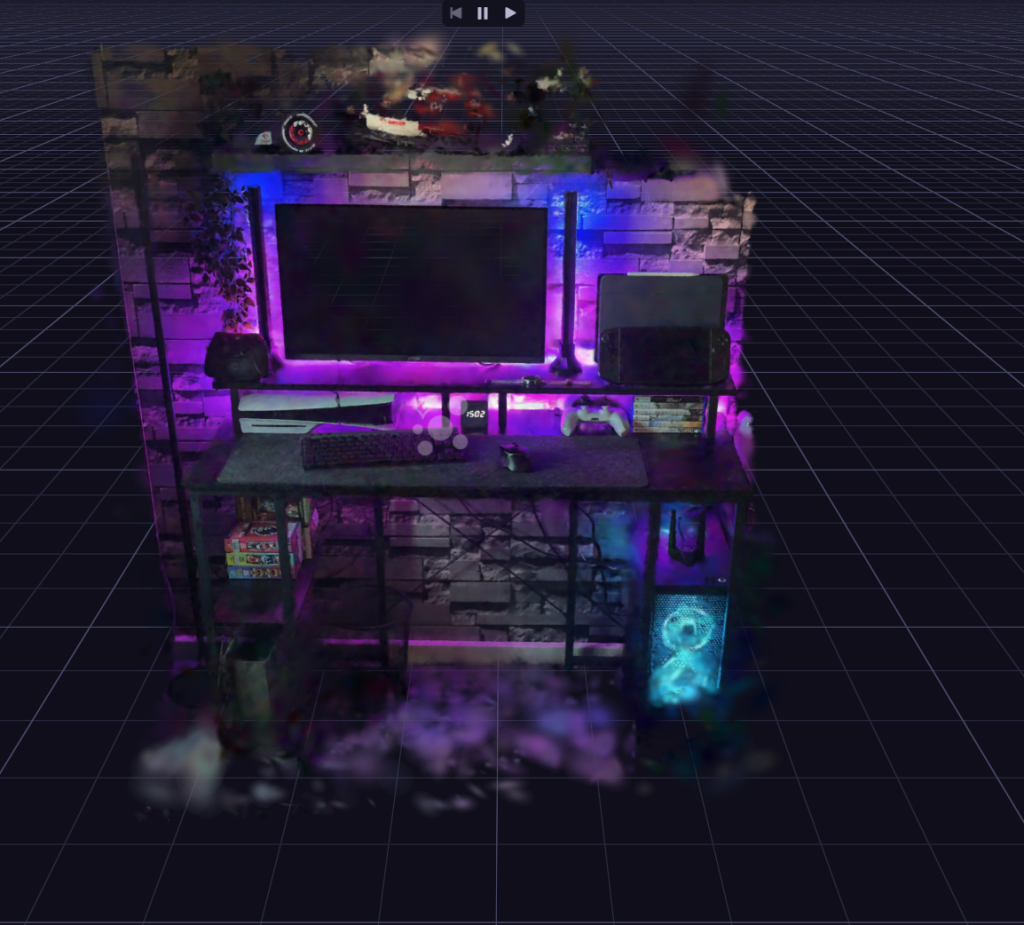
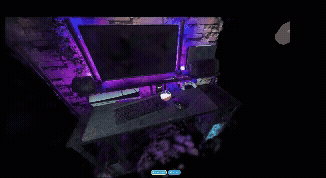
Another thing i experimented with was using the Scaniverse app to scan a 3D environment and export it into 8th wall. For this I tried scanning my personal set up at home and then exported and imported it into 8th wall and tried to make an interactive and explorable mini scene. The outcome wasn’t the clearest and I attempted to get a fully clear scene a few times however below is the best outcome I could get. I used the moveable ball from my previous scene and placed invisible boxes around the objects on my desk so that it seemed the ball was actually crashing and interacting with them.
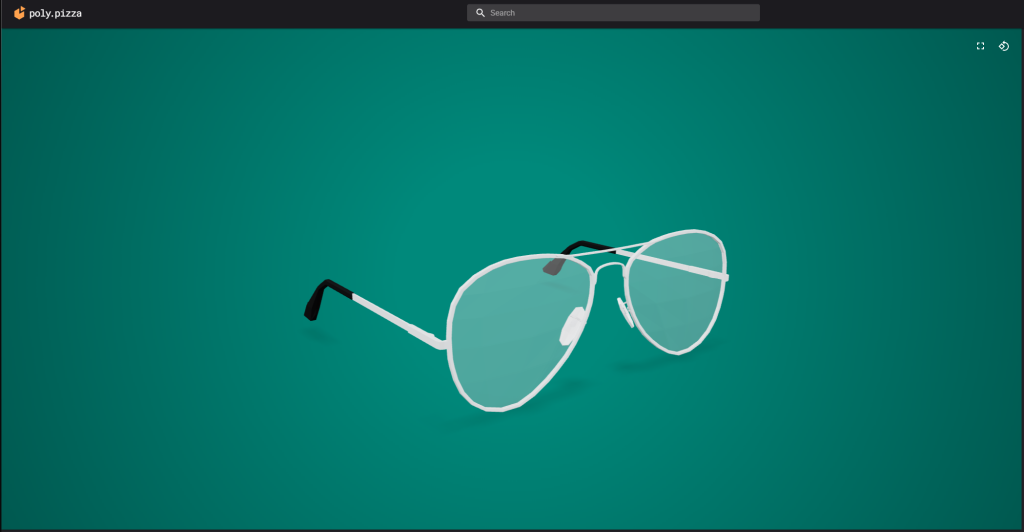
Lastly, the final thing I experimented with within 8th wall was the creating of face effects, I again followed the tutorial given in the workshop. I started by cloning the sample Face Effects studio and then removing the already given glasses and downloading and importing a 3D model I found online. Originally this model imported was extremely large so I adjusted the scale and position to where I felt it best fit the face and looked natural. Once I had finished I then tested the project out by publishing it and then scanning the QR code and trying the glasses on myself.

https://kierangoforth.8thwall.app/face
3D Model. Available Online: https://poly.pizza/m/0Wsi-ygmiIX