How did I incorporate Tufte’s five design theories:
Colour
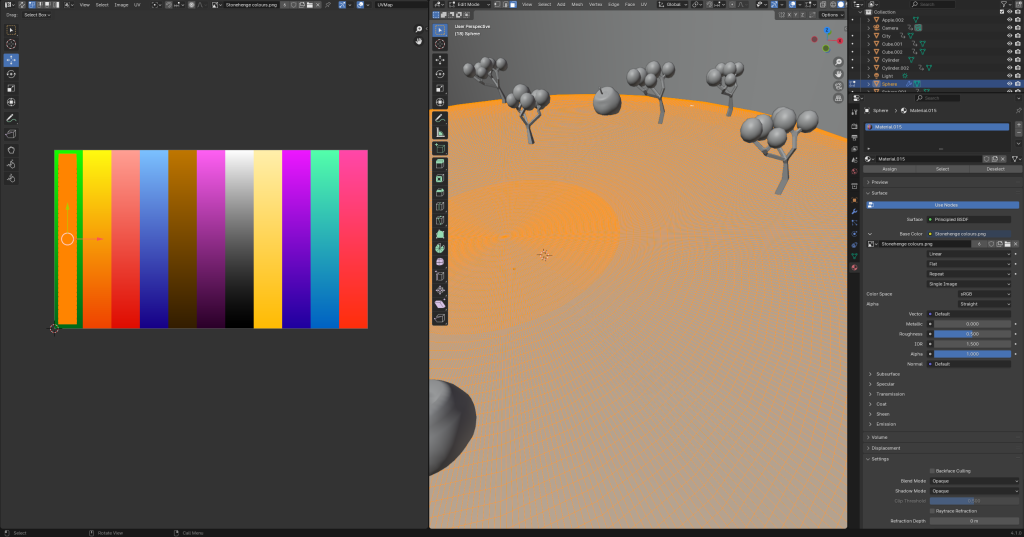
When it came to applying colour to my animation and the objects within it I used the grid of colours that I mentioned in the post of how I intended to incorporate Tufte’s theories. I began by UV unwrapping each object and apply the colour they would be in real life to basically label them as what they are similar to how Tufte states in his theory, for example grass is green and the cheese blocks are a creamy yellow colour. I also stretched each object when UV unwrapping so that it applies the gradient to add a bit of visual depth to each object, although it isn’t as strong when applied to the objects. The colours when applied also weren’t as bright and vivid but this still works as it makes them slightly more dull which can still be effective as it makes them look more natural which can be easier for the viewer to see and follow the scene.
Space and Time
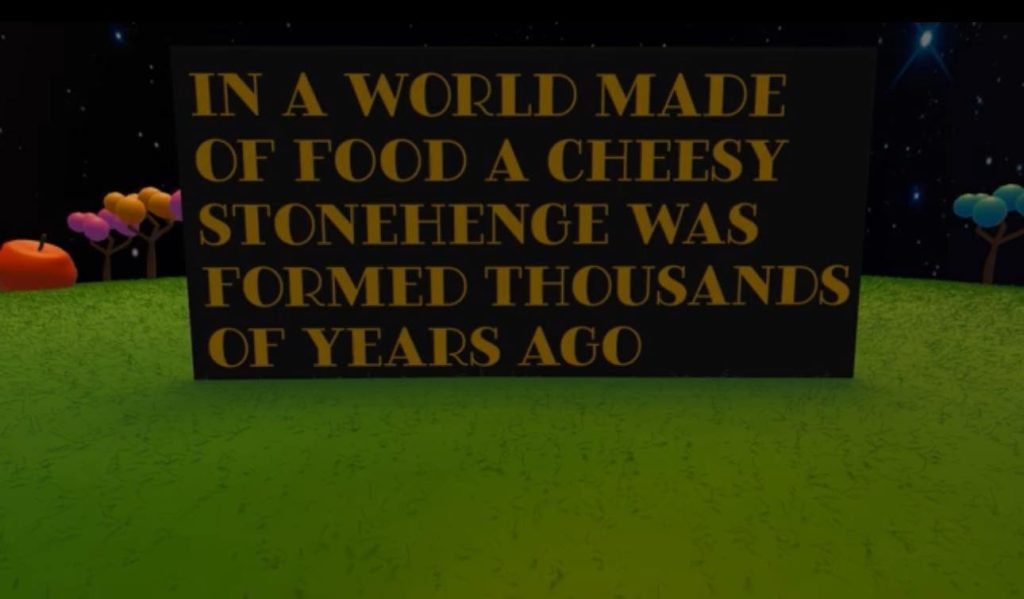
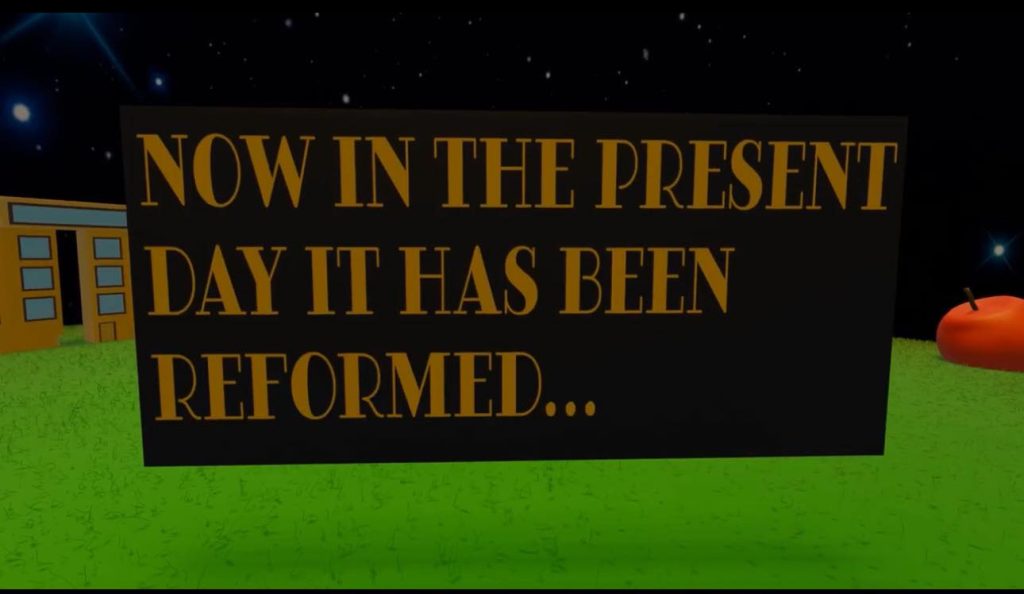
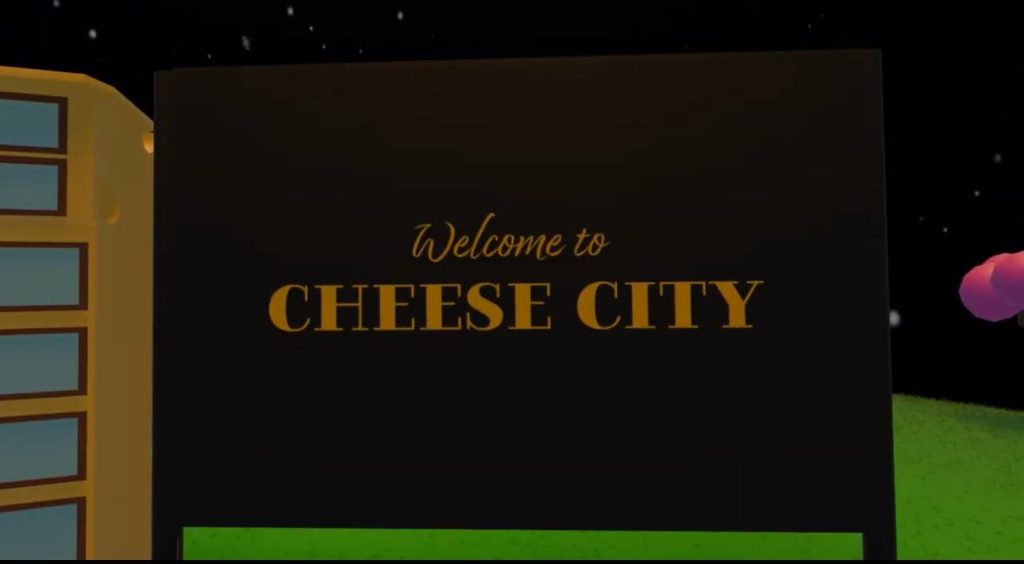
The second theory of space and time I had the rocks each morph into city blocks and buildings to show the difference from the past and present and to further reinforce this and show the viewer I added a few signs that tell the story the viewer and what is happening in each section if the scene.
Micro- Macrocosm and Small Multiples
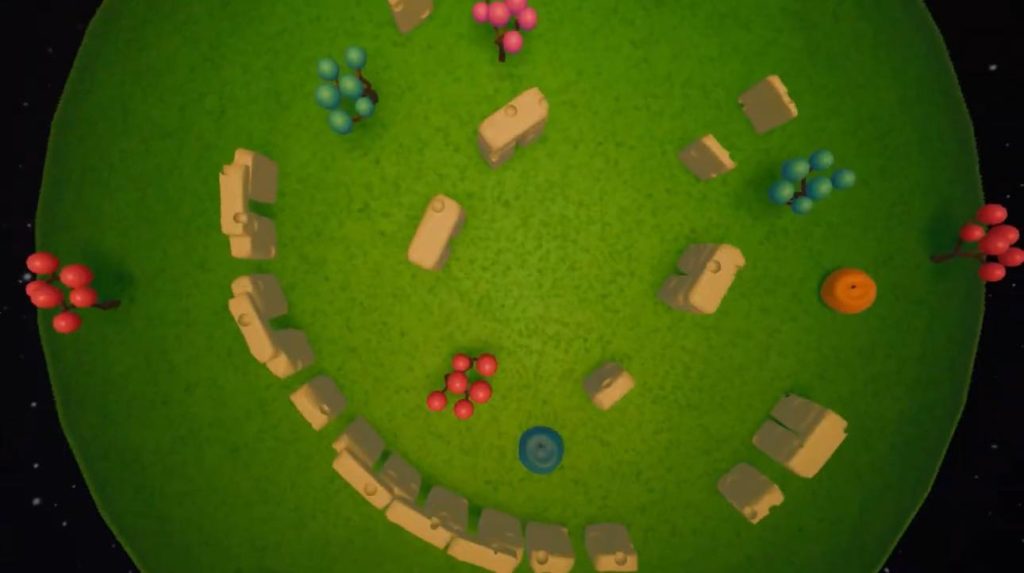
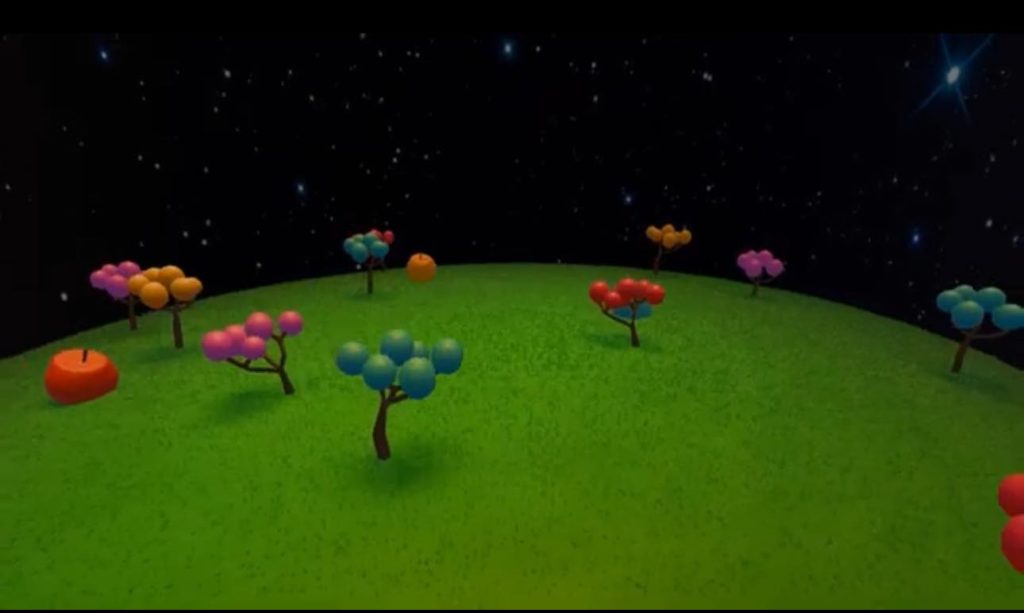
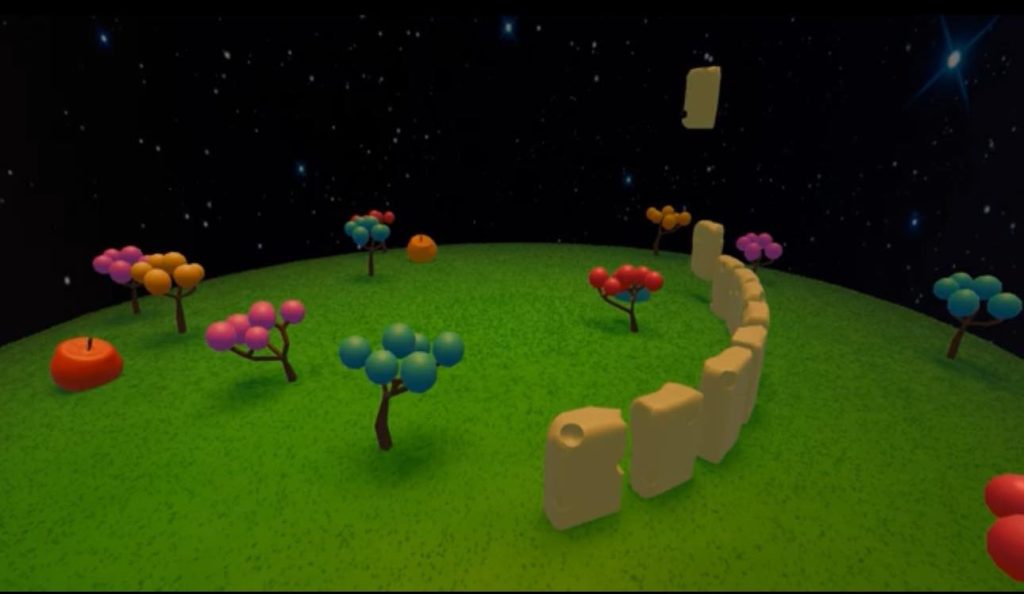
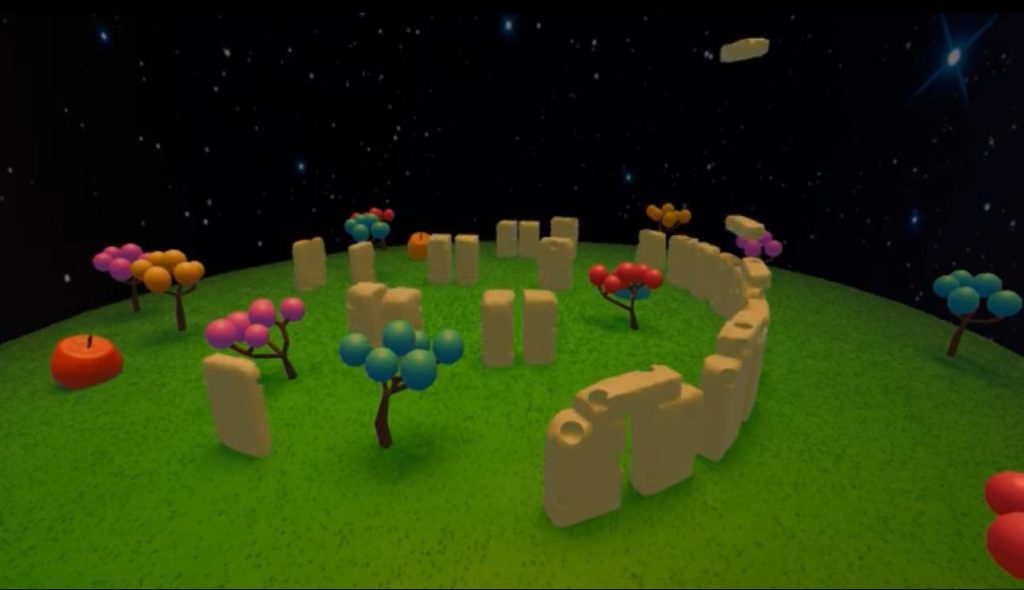
For the Micro- Macrocosm theory I integrated this theory into my design by displaying each part of the animation on its own to show how each of the separate aspects come together to form the whole scene of the animation, the animation begins showing just the trees and the apples/ fruit shown and then has each separate stone/ block from Stonehenge falling down from the sky to form the whole structure and then together the whole scene is formed.
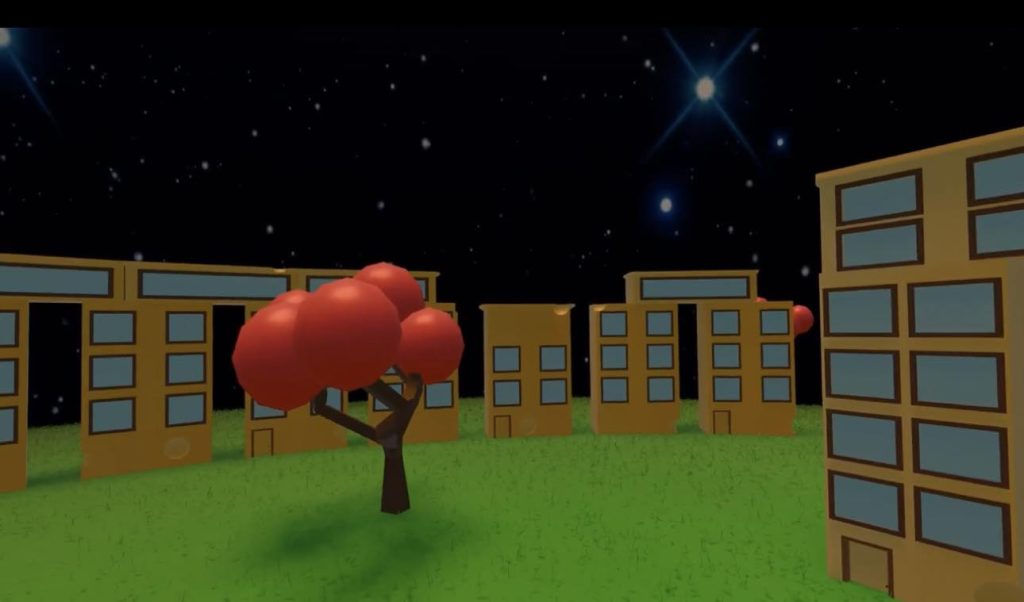
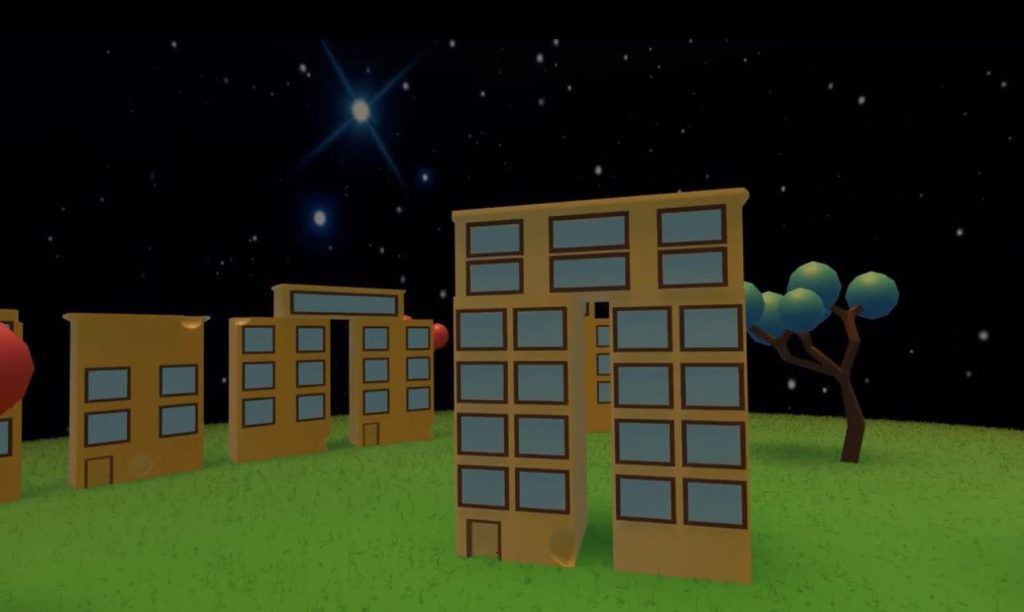
When it came to applying the small multiples theory to my animation I had the flyby go by as much of the scene as possible to show each object and show how even though they look similar when shown together you can see they are actually different, the images above slightly show this. I had the camera towards the end of the animation fly by each of the city buildings and show them together so that the differences can be seen clearly in each block as if they were looked at separately you would think they are identical to each other.
Layering and Seperation
I applied this theory in multiple ways, as mentioned above I had each stone individually fall down to form the full structure of Stonehenge showing the multiple layers, I also applied this theory by spacing each aspect and giving them as much room as I could to avoid the scene looking too cramped and avoid any confusion to the viewer I also made sure to include a clear contrast between the colours of each object so that they don’t clash and are easy to see and make out what is what and to separate each object from one another.