Adobe XD offers many ways in which you can prototype your creations and gives you lots of flexibility with what you can do with your designs.
Below are exercises from class we have done throughout the trimester showcasing the many ways in which you can prototype on Adobe XD
Exercise One: Campvibes
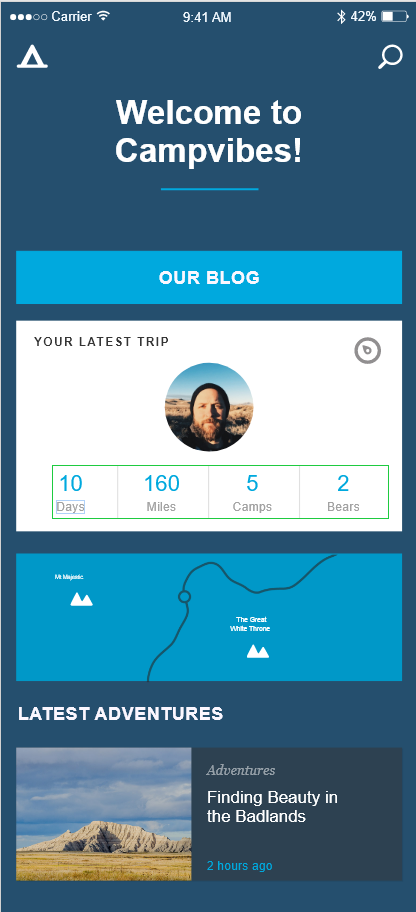
This exercise goes through a number of XD’s features and how to use them when prototyping. To begin with the exercise shows how quick and easy it is to import photos and videos whether that’s by dragging them in or importing them or even copy and paste and can then be placed whatever shape you please such as a square or circle. This can be useful as its a lot better than, for example, Adobe Illustrator where you would have to place the shape and image together yourself and create a clipping mask every time.
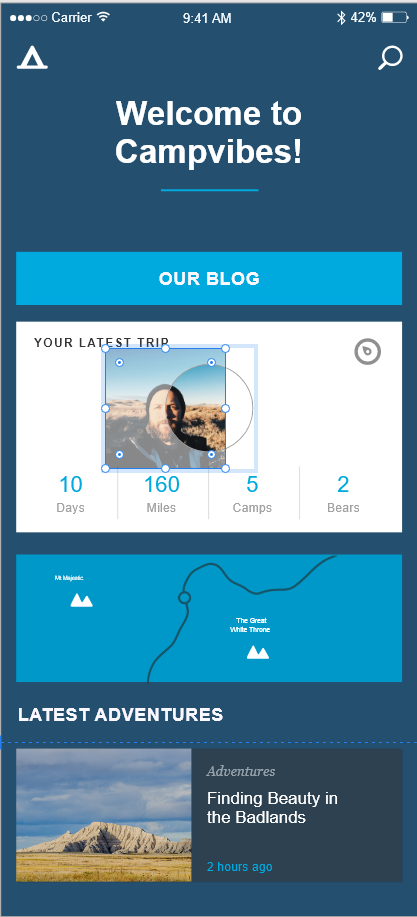
Once an image has been placed within a shape double clicking on the image will allow you to resize and move the image to a different position within the shape.
The tutorial then takes you through the very basic of animating from one page to another by creating a simple click/ tap to the ‘Adventures’ page.
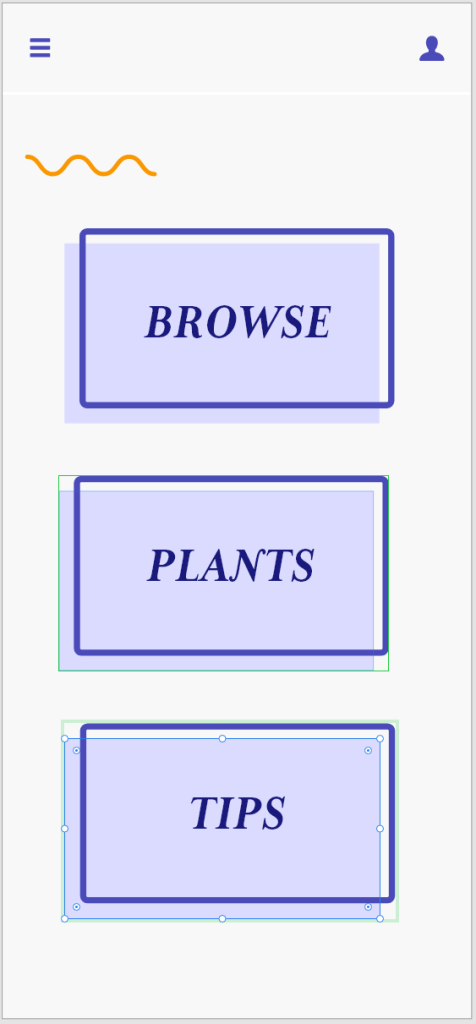
From there the tutorial shows XDs repeat grid feature, this feature is very useful as it means you don’t have to keep repeatedly making the same shape or whatever it may be and allows you to create as many as you like of that same thing and from there if its shapes you have repeated then you can place the images inside.
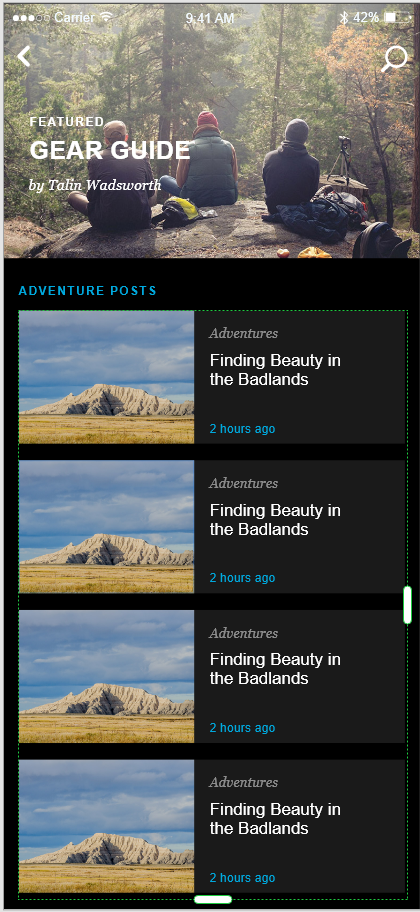
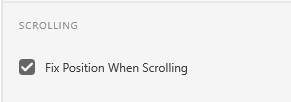
From here the tutorial shows a very important tool which is useful for mobile based designs, and webpages too in some cases, which is the sticky header, usually when in preview mode in XD when you scroll the headers will scroll along with the rest of the page and eventually disappear, the sticky header feature stops that from happening which can be useful as it helps whoever is using the app know at all times what page they are on, also doing this keeps things such as the search bar and back arrow accessible and avoids having to scroll back up. To do this you need to select the items you want to stick and then enter the prototype mode and on the right hand side select ‘Fix Position When Scrolling’
Finally, the last thing this tutorial showcases is XDs asset panel, which showcases all the components, colours, type and more throughout the design. If changing anything in the colours section, for example, changing a colour will change the colour for everything in the design that is the colour you want to change, this is a very useful tool as it means you won’t have to spend time going through everything and changing them individually.
Exercise Two
This exercise shows components and how to create/ use them. components can be useful in XD as they allow you to take multiple assets and make them one, then these components can be copied and pasted or dragged onto any artboard and used throughout your design.
Once a component has been copied any copy of a component will be known as an instance and the original is known as the master, changing the master component will change all of the instances, however instances can be changed individually which is effective as this can be used to create things such as buttons with different text on them.
If you wish to, components can be placed inside one another, this is known as nesting components, this can be useful as it can be used for a range of things, for example, in the tutorial it is used to create some icons, this means that if you were to use this in your design and you used them it would mean you could change something like a button by just changing the master component rather than having to go through each individual one.
Another thing this tutorial goes through is the use of states. States are an effective way of adding simple interactivity to your webpage or app, a hover state is something that causes it to change when it is hovered of by your mouse, and the toggle state been the state it changes to when it is clicked or tapped.
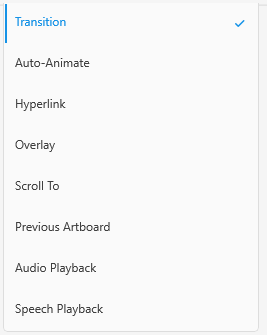
XD offers lots of different ways you can animate your app and webpage and also how those animations are triggered. The transition tab has lots of different ways you can animate something which once selected you can select how that transition will animate which you can the change how that animation eases and the duration of it. Below I have added a small example of how I have began to use transition within my Freedom Festival app by creating an overlay, the overlay feature is particularly effective as it means for example, in my case I don’t have to create a full sized screen again with just the menu over for each screen I can create that overlay which can then be used for every screen by just simply connecting all my pages to it in the prototype section with a button that opens that overlay.