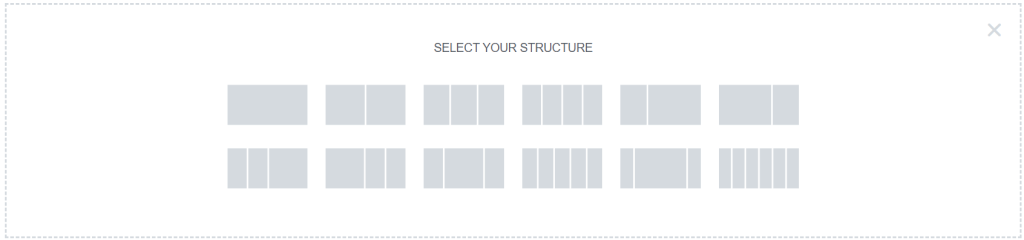
When first opening a blank canvas on Elementor you will be greeted with a blank screen and you will see the two icons above in the center of the screen when clicking on the plus you will then be asked to select your structure which can be seen in the screen below.
These structures are displaying how your page would be divided depending on which structure you choose, for example if you were to chose the structure with two blocks that select column would be separated into two where you could place whatever you want on one side and something on the other. An example would be to place an image on one side and some text on the other explaining that image.
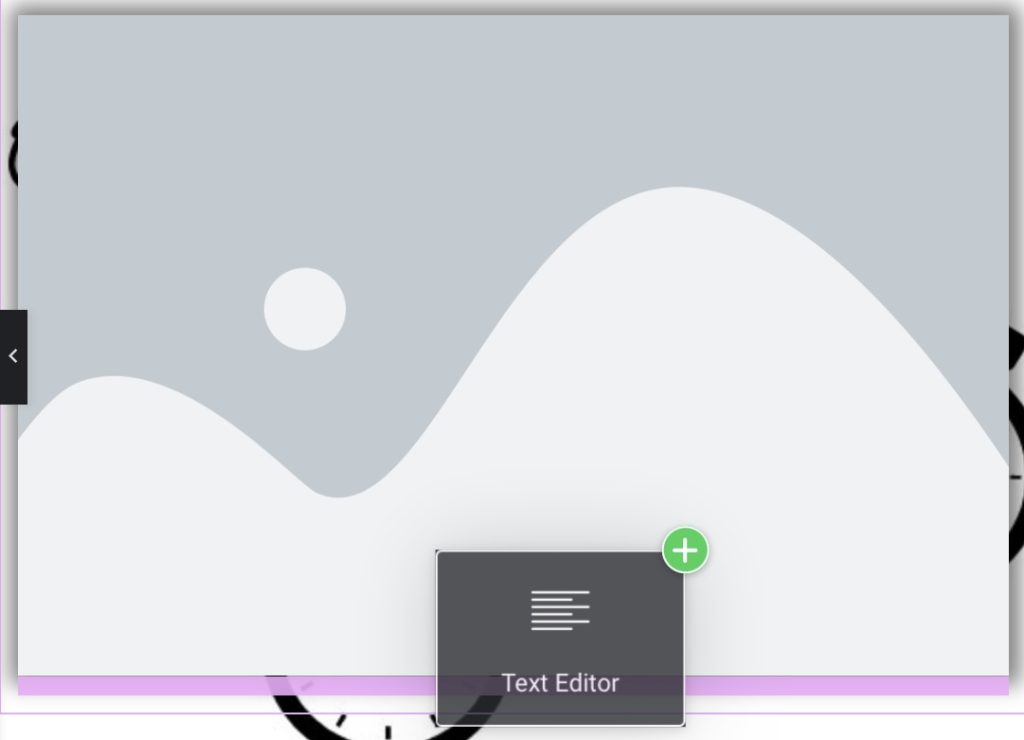
Once you have selected your structure if you press the burger icon in the top left of your screen you will be presented with a number of widgets/ elements that you can add into the sections of your structure. If you wish the stack things inside your structure you can. For example if you again chose a structure with two columns and had an image on the left side and text on the right if you were to drag one of the widgets and place it slightly above or below of either the image or text then you can, for instance you could place a header above an image or even some more text beneath.
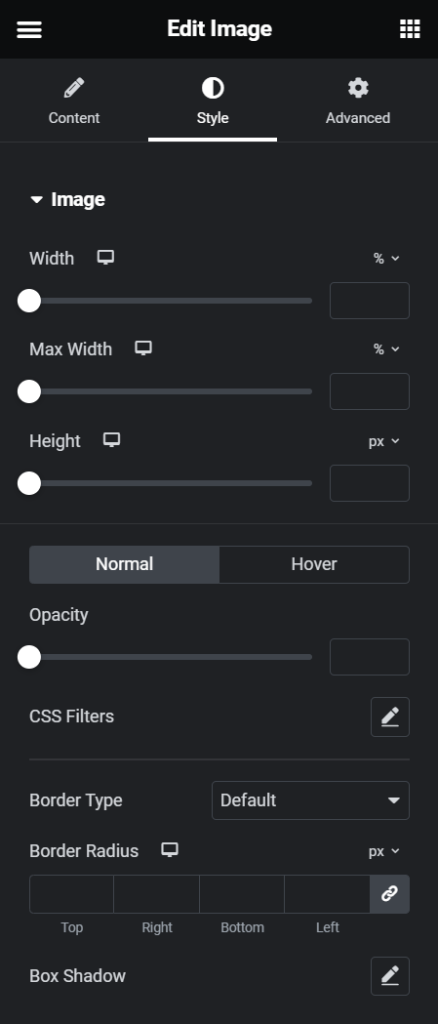
If you are wanting to edit an image you will have to click on the image and then the left hand side the above two screens can be found, on the content tab you can edit the images size, alignment, caption and if you want the image to take you to an external site you can click link and add a url or if you press link and select media file it will make the image enlarge when clicked on. The style page gives you a few more options which allows you to change the width and height of the image as well as the opacity, and gives you access to CSS filters which allows you to change things such as the blur, saturation, hue of the image and so on.
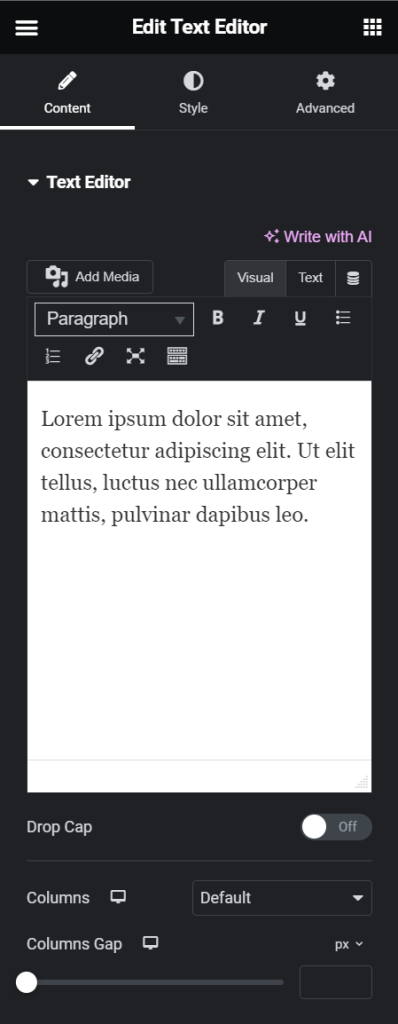
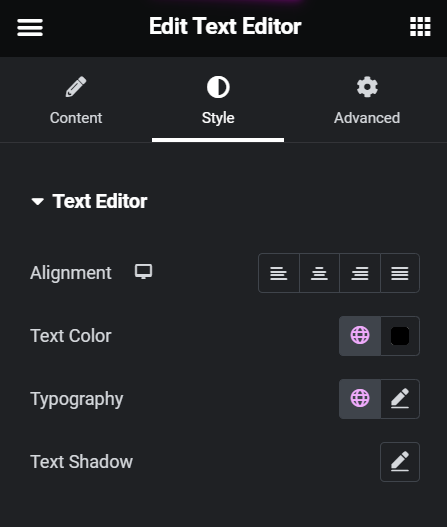
If you are wanting to edit some text you can again go to the content tab and from there you will see a white box like you can see in the image on the left and if you click on that you can write what you like, on this tab you can also change things such as the weight of the text and change it to bold or undeline and make it itallic.You can also play around with how you want your columns of text to look. Above is the style tab again, this tab allows you to change the text colour, type font, the allignment and also to play around with some shadow for your text.
When editing any widget you will always see a third tab on the left hand page “advanced” on this tab you can edit a number of things such as the layout for example where you can adjust the margin, which s the space around each column and also padding which changes the space inside a column, for example if I were to change the padding of this block of text then it would make the red background a lot wider and bigger. On this tab you can also edit things such as motion affects where you can change how the select column will show when loading into your elementor page or how it goes away when scrolling away, for example you could set it to fade in which would make that certain column fade in when looked at and you can edit the transition time to change how long that affect lasts. The transform section allows you to do things such as flip your column both horizontally and vertically and you can play with the scale, the offset, rotation and also skew. There is also a background tab which allows you to add a background to your column, your background can be a solid colour, gradient or a custom image that you can add by uploading, and there is also a border tab which allows you to add a border too. Lastly, there is a mask tab which allows you to mask a certain widget, for example, a piece of text into any shape you want.
Lastly, when editing your page always make sure you update your site to save the changes you have made by clicking the update button in the bottom left corner, if theres changes you have made and have not updated the icon will have a purple background and if you have updated everything it will have a blacked out background like in the image above. Also in the bottom left will be a selection of icons, the eye icon allows you to preview your elementor page and how it would look, the device icon lets you see how your page would look on a phone and tablet screen, the clock lets you look through version histories of your site which you could use to go back to an older version if you liked. The three squares pilled on top of each other is the navigator, which is basically just a slide that pops up and shows you all the layers/ items on your page, and lastly there is a cog looking icon that takes you to the general settings for your page where you can edit things such as the title it will be saved under.